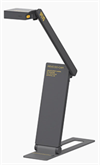
A visualiser is an additional lecture-room camera that can be used to:
- Support active learning
- Construct a student-centred approach to teaching and learning
- Increase student engagement and collaboration within the classroom
- Capture, record and save images and videos.
- Demonstrate handwriting methods to your students.
- Log in to your desktop with your St. Mary’s username and password.
(Note: You may need to go through the Multi-Factor Authentication (MFA) verification, so make sure have your mobile phone with you, click here to learn more).
2. Navigate and double-click on the Visualiser icon situated left of your screen.

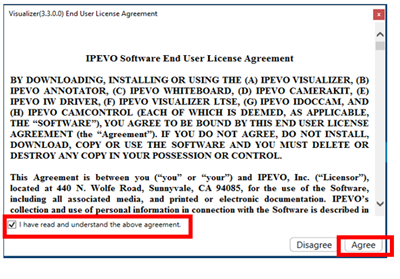
(Note: First time using the Visualiser app, you will need to read and agree with the License Agreement as shown below.)
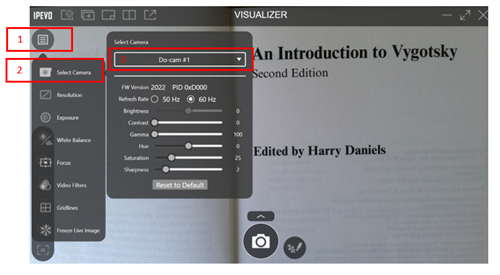
(Note: The camera setting for the visualiser should be automatically selected when opening the application. If it is not, follow the steps below.
3. Click on the 1) Open Menu icon 2) Select Camera and choose 3) Do-cam #1 from the drop-down window.
To learn more about IPEVO Visualiser, click here to the watch YouTube video and for further guidance and use case examples, click here).
In the Podcast below, you can hear directly from Janine Pavlis - Lecture in Primary Education - on how to use a Visualiser in teaching and learning.
Janine talks about:
- The uses of a Visualiser
- How a Visualiser improves student engagement
- The challenges of using a Visualiser
- Advice to academics.
You might need to authenticate to listen this podcast.