Panopto is the university's video and lecture capture software.
Support students who might be absent from a lecture session by recording it on Panopto and uploading it to Moodle.
Watch the video below to learn how to record a video using Panopto.
There are a few differences when recording a video in Panopto on a Mac.
In the recorder, there are not three tabs at the top, only the Manage Recordings and Create New Recording areas (Figs. 15 and 16).
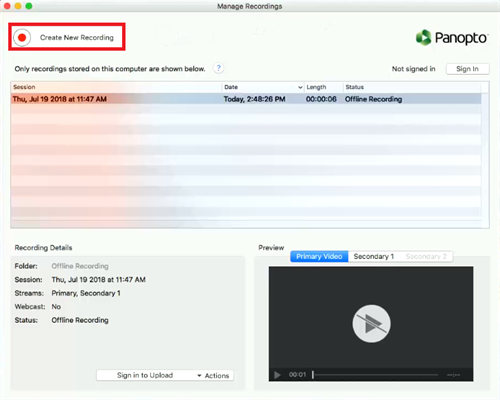 Figure 15
 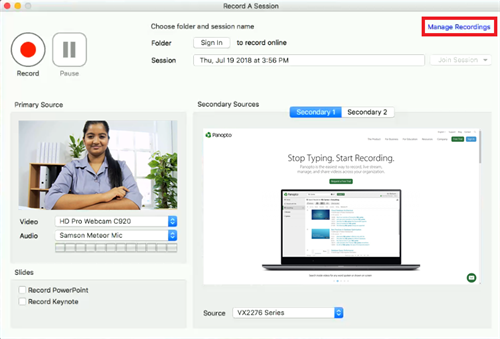 Figure 16
You select primary sources the same way you would in Windows. Below the primary sources select a checkbox if you want to record PowerPoint or Keynote (Fig. 17).
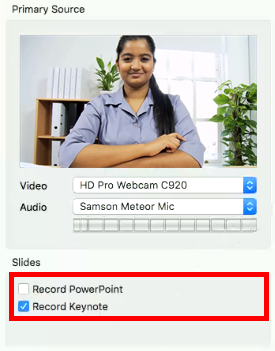 Figure 17
You can select two secondary video sources. Select the Secondary 1 or 2 tabs at the top then select the desired secondary video Source from the source drop down list. This is where you select your desktop display for screen capture or additional cameras (Fig. 18).
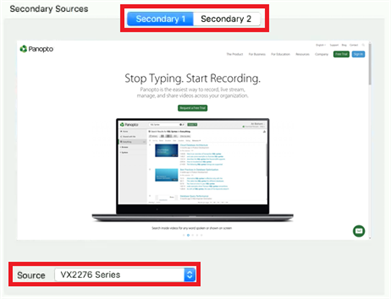 Figure 18
Click Record when you are ready, and Stop when you are finished.